Distributed JMS Queue on WebLogic 10
Several months ago, I had to setup a JMS queue on a WebLogic 10 server. Bea has nice documentation for JMS at http://edocs.bea.com/wls/docs100/messaging.html. Here is a condensed version for setting up JMS Distributed Queues.
Disclaimer: These are instructions for the minimal JMS setup and do not include optimizations/tuning for production environment.
The first step in setting up a Distributed Queue is to create a JMS server for managing the Queue. Here are the steps for creating a JMS server.
-
Under Domain Structure, go to Services -> Messaging -> JMS Servers and hit New
-
Enter a name for the JMS server (e.g., “Blog JMS Server”)

-
Hit “Create a new Store” (if you are not planning to persist messages, you don’t need a store).

-
Select “File Store” as the type, and in the subsequent screen, provide a name and directory location for the store. Hit Finish
-
Hit “Next” and select the target WebLogic server. Hit “Finish” to complete the JMS server creation. Make sure you “Activate” the changes.
The next step is to create a JMS Module. A JMS Module is a way for packaging JMS resources such as Queues and topics. Here are the steps to create a JMS module:
-
Under Messaging, select JMS Module and hit “New”.
-
Enter a name (e.g., Blog JMS System Module) and the rest of the fields on the page can be left empty.
-
Hit “Next”, and select the WebLogic server you would like to target (ideally, this would be the same server that is hosting the JMS server you created above).
-
On the next screen hit Finish and “Activate” changes.
Now that the entire infrastructure is in place, it’s time to create a Distributed Queue. WebLogic’s new “Distributed Queue” eliminates the need to create physical queues and mapping them to a Distributed Queue (a great improvement from WL 8.x). Here are the steps:
-
Select the JMS Module you just created and hit “New” on the next page.
-
Select Distributed Queue option and continue on to the next page.
-
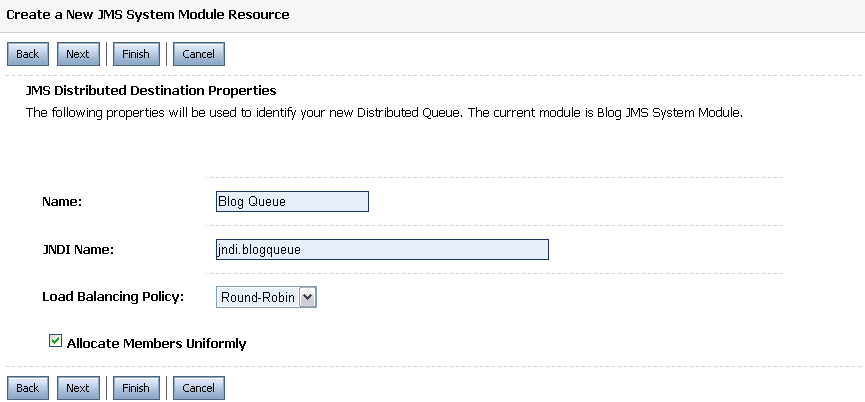
Provide a name (e.g., Blog JMS Queue) and a JNDI name (e.g., jndi.blogQueue).
-
On the next page, select “Advance Targeting” and hit “Create a New Subdeployment”. A Subdeployment is a convenient way for grouping and targeting JMS module resources.
-
Provide a name (e.g., Blog Subdeployment) for the Subdeployment and hit “Ok”.

-
Select the JMS server you created above as the target and hit “Finish”.
For clients to connect and use JMS resources, a JMS Connection Factory is needed. Here are the steps for creating a Connection factory:
-
Select the JMS Module created above and hit “New” on the next page.
-
Select “Connection Factory on the next screen and move on to the next page.
-
Give the Connection factory a name (e.g., Blog Connection Factory) and JNDI name (e.g., jndi.blogfactory). Hit “Next”.

-
Select “Advance Targeting” and on the next page, select the Subdeployment you created above (Blog Subdeployment). Wait for the page to refresh itself and hit Finish

