Archive

Archive for the ‘Flex’ Category

Flex 4 Custom Validators in 5 Minutes

October 12th, 2010 No comments

Flex out of the box provides several validators that can be used for validating user input. These validators are bundled in the mx.validator package. However, there will be times where we might need to write our own validators. In this post, I will create a custom validator that can be used for validating a combo box.

Creating a custom validator involves extending the mx.validators.Validator class and overriding its doValidation method.


package validators
{
	import mx.validators.Validator;

	public class ComboBoxValidator extends Validator
	{
		public function ComboBoxValidator()
		{
			super();
		}
		
		override protected function doValidation(value:Object):Array 
		{
			return null;
		}
	}
}

The doValidator method holds the logic for validating the passed in value. This value is the data entry control’s property and is passed in by Flex. For our combo box validation we will be using its selectedItem property. Any validation errors will be reported as instances of mx.validators.ValidationResult. With this information in hand, here is the complete implementation of the doValidation method.


override protected function doValidation(value:Object):Array 
{
		var resultArray:Array = [];
		if(value == null) 
		{
			resultArray.push(new ValidationResult(true, "", "", "Validation Failed"));
		}
		return resultArray;
}

And here is the MXML application that uses the custom validator.


<?xml version="1.0" encoding="utf-8"?>
<s:Application xmlns:fx="http://ns.adobe.com/mxml/2009" 
			   xmlns:s="library://ns.adobe.com/flex/spark" 
			   xmlns:mx="library://ns.adobe.com/flex/mx" 
			   xmlns:validators="validators.*"
			   minWidth="955" minHeight="600">
	<fx:Script>
		<![CDATA[
			import mx.validators.Validator;
		]]>
	</fx:Script>

	<fx:Declarations>
		
		<s:ArrayCollection id="countries">
			<s:source>
				<fx:String>Australia</fx:String>
				<fx:String>India</fx:String>
				<fx:String>France</fx:String>
				<fx:String>USA</fx:String>
			</s:source>
		</s:ArrayCollection>
		
		<validators:ComboBoxValidator id="cmbCountryValidator" source="{cmbCountry}" property="selectedItem" />
		
	</fx:Declarations>
	
	<s:layout>
		<s:VerticalLayout paddingLeft="20" paddingTop="20" />
	</s:layout>

	<s:ComboBox id="cmbCountry" dataProvider="{countries}" focusOut="Validator.validateAll( [cmbCountryValidator] )" width="200" />
	
	<s:TextInput width="200" />
	
</s:Application>

Categories: Flex Tags: , ,

Getting started with Flex – Setting up Development Environment

September 4th, 2009 1 comment

The first step in developing an enterprise level flex application is setting up a development environment. Adobe offers an eclipse based development tool called Flex builder that provides a variety of features making Flex development a breeze. This flex builder comes in two flavors: a standalone IDE and an eclipse plugin. Since I will be developing Java based Flex applications, I decided to install the plugin version of the Flex builder in my favorite MyEclipse IDE.

We start with MyEclipse installation.

  1. Download the MyEclipse 7.5 “All in One” installer from MyEclipse site
  2. Once the download is complete, click on the installer file to start the installation
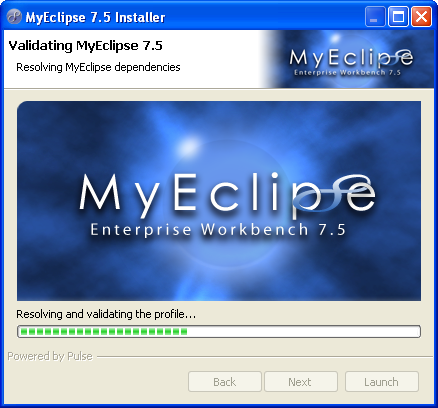
    myeclipse-1
  3. MyEclipse would then prepare and validate the installation.
    myeclipse-3
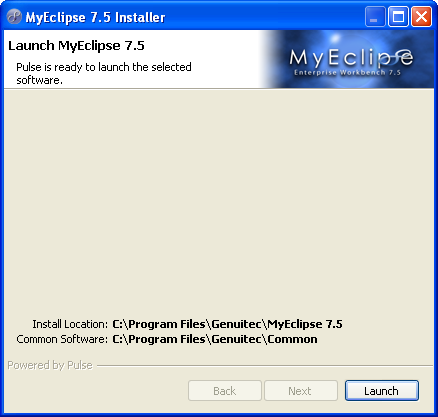
  4. Upon completion of step 3, you will be presented with the screen below:
    myeclipse-4
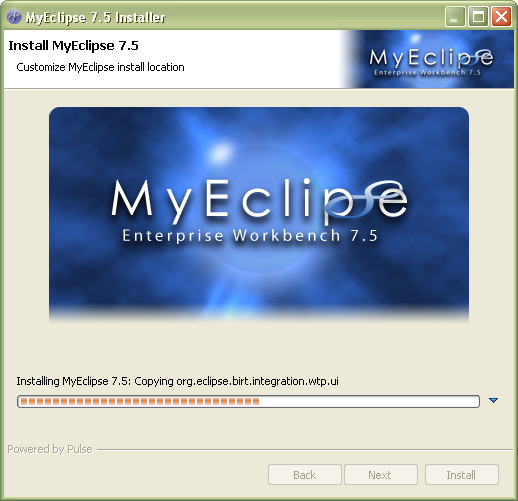
  5. Click on Launch to install the software.
    myeclipse-31
  6. After installation is complete, MyEclipse will launch itself. Select the default workspace and hit ok.

Now we are ready to install the Flex Builder Plugin.

  1. Download the Flex Builder 3 Plugin from Adobe site.
  2. Upon completion of the download, double click the installer file to launch the installation.
    1
    2
  3. On the next screen, select the language and hit Ok.
    3
  4. Accept the license agreement and hit Next.
    5
  5. On the next screen you can customize the Flex Builder Plugin location. Just accept the default location and hit Next.
    6
  6. The next screen asks for an Eclipse installation folder. DO NOT SPECIFY AN EXISTING ECLIPSE INSTALLATION LOCATION. Create a new folder called “eclipse” in your file system (in my case I created it under C drive) and provide that location to the installer. Hit Next.
    7
  7. On the next screen click “Proceed with Caution”.
    8
  8. Hit Next and then Install to start the installation.
    9
    10
  9. Wait for the installation to complete.
    11
  10. Upon completion, you should see the following screen.
    12

Integrating MyEclipse 7.5 and Flex Builder Plugin

  1. Go to Add/Remove Software in MyEclipse 7.5.
    13
  2. Select Personal Software and click Add.
    21
  3. On the next screen, click Add Local.
    31
  4. Select “com.adobe.flexbuilder.update.site” folder in your Flex Builder Plugin install folder and click ok.
    4
  5. Select “Flex Builder 3” and hit Next.
    51
  6. On the following screen hit Apply.
    61
  7. MyEclipse would perform a validation of the install.
    71
  8. Accept the License agreement and hit Next.
    81
  9. Click Update to trigger software update.
    91
    101
  10. Once the update is complete, click Yes to restart MyEclipse.
    111

Changing Flex SDK installation location

  1. Go to “Installed Flex SDKs” in MyEclipse under Window->Preferences->Flex. You should see two SDKs installed with errors next to them.
    121
  2. Select Flex 0.0 and hit Edit. Click Browse in the popup and browse for 2.0.1 SDK located under /sdks/2.0.1. Hit Ok.
    131
  3. Repeat step 2 for Flex 0.0(1) and select the 3.2.0 SDK folder.
  4. This completes the plugin installation. Restart MyEclipse Workbench.

Testing installation

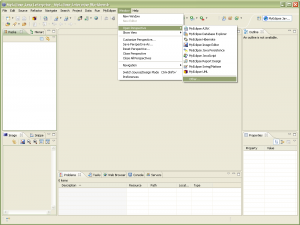
  1. Open the Flex Builder perspective by clicking Window->Open Perspective->Other and then selecting Flex Development.
    14
  2. Create a new Flex Project by going to File->New->Flex Project. Enter the following project details and hit Finish.
    16
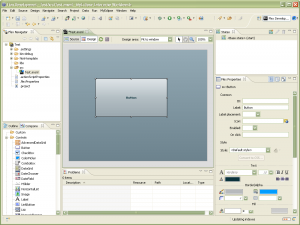
  3. Open the Test.mxml file and go to “Design” view. Drag a button on to the canvas and save the file.
    17
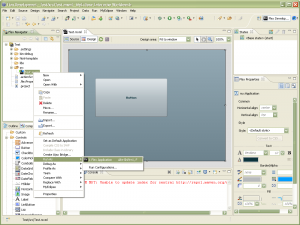
  4. Launch the application by right clicking on Test.mxml->Run As->Flex Application.
    18
  5. You should see the application run in your default browser.

Upgrading Flex SDK:

  1. Get the latest version of Flex SDK (3.4.0 at the time of writing this post) from Adobe’s site
  2. Unzip the downloaded file into /sdks/3.4.0 folder.
  3. In MyEclipse go to Installed Flex SDKs and click Add. Browse for the 3.4.0 folder and enter 3.4.0 as the name and hit Ok.
    20
  4. Make sure that 3.4.0 SDK is selected and hit Ok.

References:
http://riawanderer.com/?p=4

Categories: Flex Tags: