Getting started with Flex – Setting up Development Environment
The first step in developing an enterprise level flex application is setting up a development environment. Adobe offers an eclipse based development tool called Flex builder that provides a variety of features making Flex development a breeze. This flex builder comes in two flavors: a standalone IDE and an eclipse plugin. Since I will be developing Java based Flex applications, I decided to install the plugin version of the Flex builder in my favorite MyEclipse IDE.
We start with MyEclipse installation.
- Download the MyEclipse 7.5 “All in One” installer from MyEclipse site
- Once the download is complete, click on the installer file to start the installation

- MyEclipse would then prepare and validate the installation.
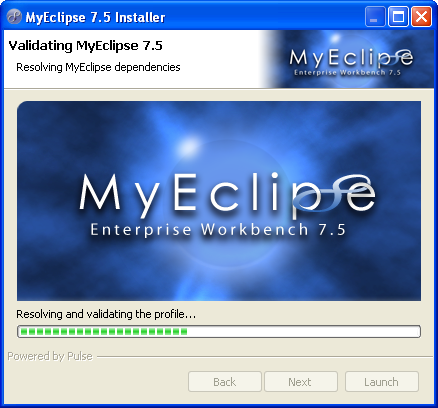
- Upon completion of step 3, you will be presented with the screen below:
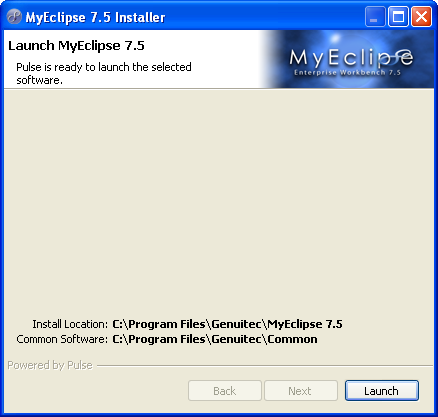
- Click on Launch to install the software.
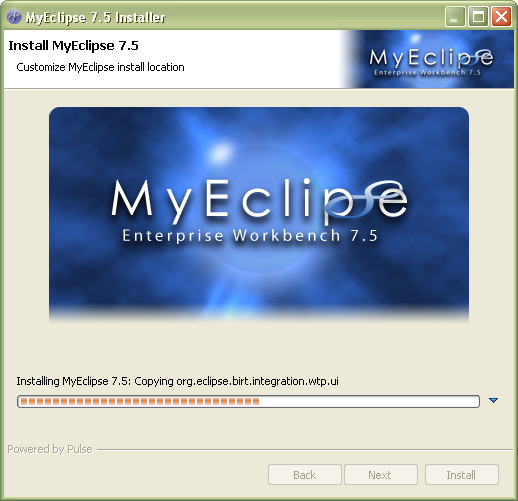
- After installation is complete, MyEclipse will launch itself. Select the default workspace and hit ok.
Now we are ready to install the Flex Builder Plugin.
- Download the Flex Builder 3 Plugin from Adobe site.
- Upon completion of the download, double click the installer file to launch the installation.


- On the next screen, select the language and hit Ok.

- Accept the license agreement and hit Next.

- On the next screen you can customize the Flex Builder Plugin location. Just accept the default location and hit Next.

- The next screen asks for an Eclipse installation folder. DO NOT SPECIFY AN EXISTING ECLIPSE INSTALLATION LOCATION. Create a new folder called “eclipse” in your file system (in my case I created it under C drive) and provide that location to the installer. Hit Next.

- On the next screen click “Proceed with Caution”.

- Hit Next and then Install to start the installation.


- Wait for the installation to complete.

- Upon completion, you should see the following screen.

Integrating MyEclipse 7.5 and Flex Builder Plugin
- Go to Add/Remove Software in MyEclipse 7.5.
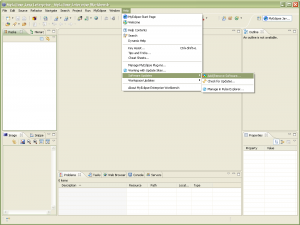
- Select Personal Software and click Add.

- On the next screen, click Add Local.

- Select “com.adobe.flexbuilder.update.site” folder in your Flex Builder Plugin install folder and click ok.

- Select “Flex Builder 3” and hit Next.

- On the following screen hit Apply.

- MyEclipse would perform a validation of the install.

- Accept the License agreement and hit Next.

- Click Update to trigger software update.


- Once the update is complete, click Yes to restart MyEclipse.

Changing Flex SDK installation location
- Go to “Installed Flex SDKs” in MyEclipse under Window->Preferences->Flex. You should see two SDKs installed with errors next to them.

- Select Flex 0.0 and hit Edit. Click Browse in the popup and browse for 2.0.1 SDK located under
/sdks/2.0.1. Hit Ok. 
- Repeat step 2 for Flex 0.0(1) and select the 3.2.0 SDK folder.
- This completes the plugin installation. Restart MyEclipse Workbench.
Testing installation
- Open the Flex Builder perspective by clicking Window->Open Perspective->Other and then selecting Flex Development.
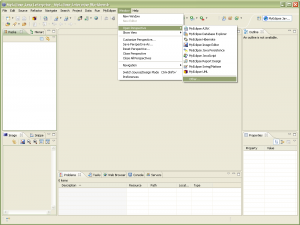
- Create a new Flex Project by going to File->New->Flex Project. Enter the following project details and hit Finish.

- Open the Test.mxml file and go to “Design” view. Drag a button on to the canvas and save the file.
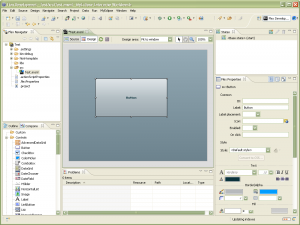
- Launch the application by right clicking on Test.mxml->Run As->Flex Application.
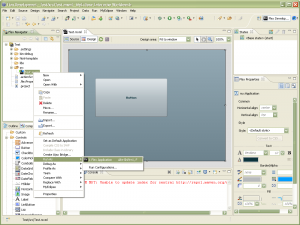
- You should see the application run in your default browser.
Upgrading Flex SDK:
- Get the latest version of Flex SDK (3.4.0 at the time of writing this post) from Adobe’s site
- Unzip the downloaded file into
/sdks/3.4.0 folder. - In MyEclipse go to Installed Flex SDKs and click Add. Browse for the 3.4.0 folder and enter 3.4.0 as the name and hit Ok.

- Make sure that 3.4.0 SDK is selected and hit Ok.
References:
http://riawanderer.com/?p=4
Categories: Flex
Great work,
I was struggling to configure FLEX on MyEclipse 7.5, it really helped me to get rid of the problem and saved a lot of time.