Using Apache JAMES Mail Server
Recently, I needed an open source email server for testing purposes and I came across JAMES project. The Java Apache Mail Enterprise Server or JAMES is an open source mail application platform that among many other things is a full-fledged e-mail server. It is a pure Java implementation (built on Spring Framework) and supports all the standard e-mail protocols such as SMTP, POP3 etc. In this post, I will quickly demonstrate how you can set up JAMES on your local Windows box and use it to send emails.
Step 1: Download the latest version of JAMES from Apache site. At the time of this writing the latest stable version is 2.3.2 (james-binary-2.3.2.zip). Unzip the downloaded file to a folder on your box. I will be referring to this directory as JAMES_INSTALL_DIR throughout post.
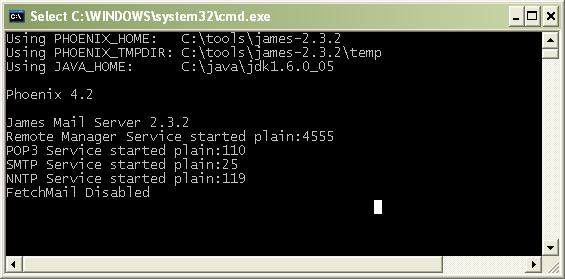
Step 2: To start JAMES, simply run the “run.bat” file under the

Step 3: Before we can start sending and receiving mails, we need to create a user account on our mail server. JAMES provides a Remote Manager Service on port 4555 that you can telnet into and interact with. Simply launch a new Command Prompt and run the command:
telnet localhost 4555
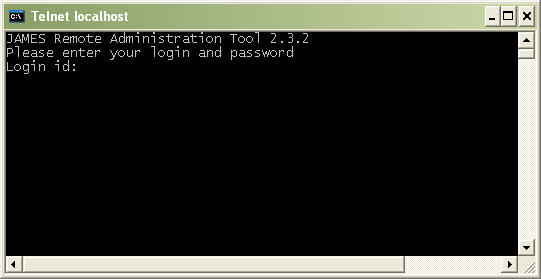
You should see the Remote Administration Tool and a prompt for your login id.

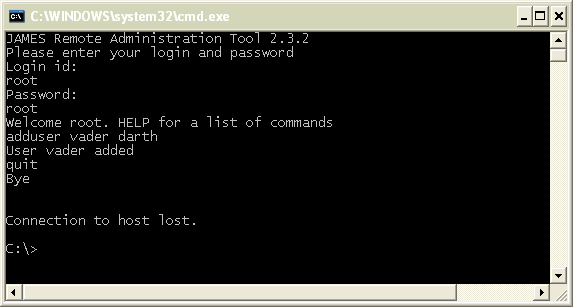
Enter root as your login id and upon prompt for password enter root. This would log you in. To create a new user run the following command: adduser someusername somepassword

Here are some of the useful commands supported by JAMES:
| Command | Description |
|---|---|
| help | Display help with commands |
| listusers | |
| setpassword | Sets a user’s password. The format is setpassword username password |
| deluser | Deletes an existing user. The format is deluser username |
| adduser | Adds a new user. The format is adduser username password |
| countusers | Shows the number of existing accounts |
| listusers | Lists all the existing accounts in the mail server |
| quit | Closes the connection |
Step 4: Now we have everything installed and setup to send emails. Lets give it a try by running the sample code below:
package com.practicalspring.mail;

import java.util.Properties;

import javax.mail.Message;
import javax.mail.MessagingException;
import javax.mail.Session;
import javax.mail.Transport;
import javax.mail.internet.InternetAddress;
import javax.mail.internet.MimeMessage;

public class Main {

	public static void main(String[] args)
	{
		/***** CHANGE THESE FOUR VARIABLE VALUES TO REFLECT YOUR ENVIRONMENT ******/
		String user = "vader";	// Newly created user on JAMES
		String password = "darth"; // user password

		String fromAddress = "vader@localhost"; // newlycreateduser@localhost
		String toAddress = "SOMEUSER@gmail.com";


		// Create a mail session
		Properties properties = new Properties();
		properties.put("mail.smtp.host", "localhost");
		properties.put("mail.smtp.port", "25");
		properties.put("mail.smtp.username", user);
		properties.put("mail.smtp.password", password);
		Session session = Session.getDefaultInstance(properties, null);

		try
		{
			Message message = new MimeMessage(session);
			message.setFrom(new InternetAddress(fromAddress));
			message.setRecipients(Message.RecipientType.TO, InternetAddress.parse(toAddress));

			message.setSubject("Email from our JAMES Server");
			message.setText("Luke, I'm your father!!");
			Transport.send(message);

			System.out.println("Email sent successfully");
		}
		catch (MessagingException e)
		{
			e.printStackTrace();
		}
	}
}
Here is the generated email in my inbox:

If you don’t see an email in your inbox in the next couple minutes make sure to check in the Spam folder.

