Getting Started With Git and GitHub
For the last two years, I have been using Git on a windows machine. Recently, I had to install Git on my Mac and connect to Github. Since I have not blogged for such a long time, I thought of jotting down my notes here.
Setting Up Git Locally
1. The first step in this process is to download and install Git locally. The easiest way to do is to download the Git OS X installer from http://code.google.com/p/git-osx-installer/downloads/list The recent version at the time of writing is 1.7.9.4.
Once the download is complete, just run the installer. Upon successful installation, run the following command:

2. The next step is to configure Git. To do this, run the following commands from the command line:
git config –global user.name “YOUR_NAME”
git config –global user.email “YOUR_EMAIL”
3. Now we are ready to create a Git repository. To do that, create a new directory where you want to store your project files. For this blog, I have created a new folder called “hellogit” and moved to the folder in the terminal.

To create a new repository, simply run the following command in the project folder:

4. Now we are ready to add files to our repository. Assume that we have two files in our project test.html and test2.html. Move the files into the hellogit project folder.
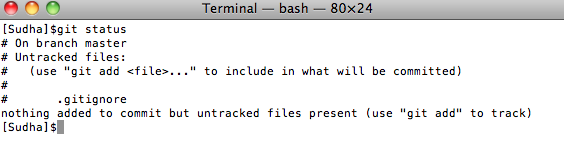
Now run the git status command to know the latest status of our repository:

Git comes back saying that we have two untracked files. Git does not automatically track the files in our repository. Instead we need to explicitly add them.
5. To add files to Git, simply run the following command:

If you are new to Git, you might be wondering about the lack of feedback from Git about the add command. Just remember that upon a successful command execution, Git typically does not give you any feedback.
Let’s run the status command to see what happened:
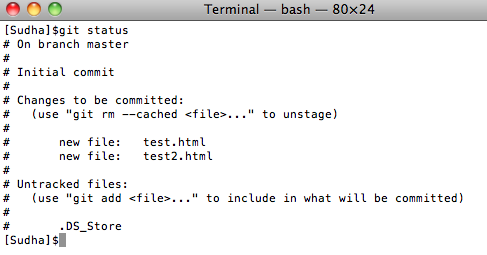
From the above image, you can see that Git added our two files. It also mentions that we have a OS specific file DS_Store that needs to be tracked. We will address that in a minute.
6. When we are done making changes to our project files, we can check them in. To do that, simply run the following command:
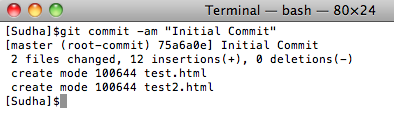
In the above command, I have given a commit message “Initial Commit”.
7. Often we will end up with project and OS specific files (DS_Store) in our project folder that we don’t want to check in to Git. We can tell Git to ignore certain files and never track them. To do that, we simply create a .gitignore file that has the name(s) of the file that needs to be ignored.
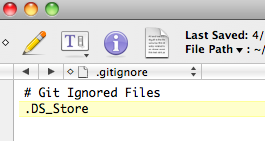
Now, when the .gitignore file is in place, run the status command and you will see that the .DS_Store file is no longer tracked.
Preparing For Github
Before you can start using Github remote repository, you need to setup SSH keys. These keys are needed to establish secure connection between your computer and Github. To do that follow these steps:
1. Run the following command:
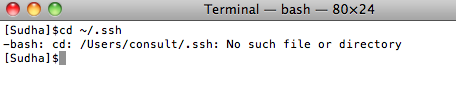
The No such file or directory indicates that you don’t have any SSH keys. Sometimes, the folder might exist but it might not have the id_rsa* SSH key files.
2. The next step is to create a new SSH key. Run the following command:

Hit enter to accept the default location. You will be asked to enter a passphrase. Enter a pass phrase and make a note of it as we will need it again.
Connecting To Github
1. Before we can push our code to a github repository, we need to create an account. Go to http://github.com and create a new account.
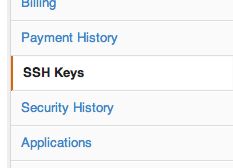
2. Once you have created and logged into your account, you need to give github your SSH key. In order to do that, go to your account settings page and click the SSH Keys Navigation Item:
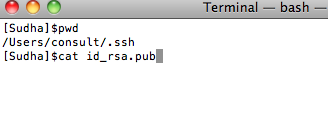
3. Copy the SSH key you created above. To do that, simply go to the .ssh folder and type the following command:
4. Click the Add SSH Key button and enter the key as well as a title.
5. Go back to the terminal and try to connect to github using this command:

When you accept Yes, you will be asked to enter the passphrase:
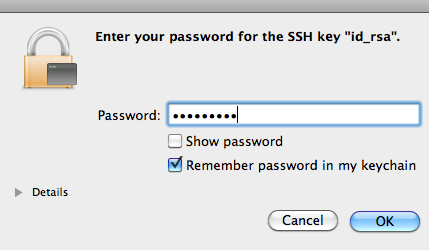
Check the “Remember Password in keychain” and hit Ok.
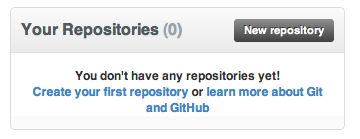
6. Now, we are ready to start pushing code to Github. Before we do that we need to create a remote repository on Github. To do that, click the New Repository button:
Enter the following information for the new repository:
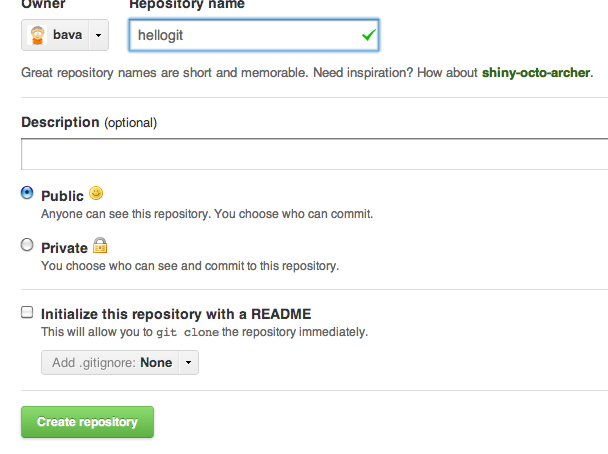
Make sure you leave all the fields in their default state.
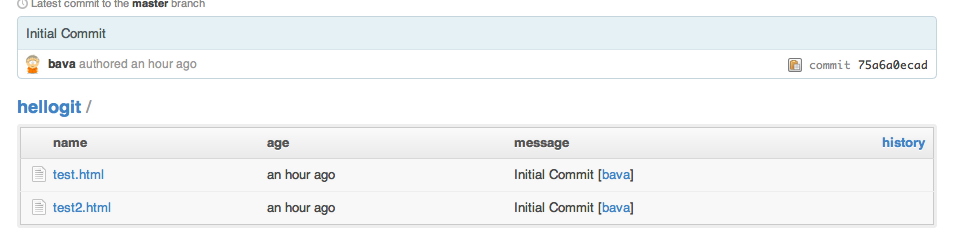
7. Once the repository has been created on Github, move to your terminal and cd.. into the hellogit project. Then run the following two commands (replace bava with your username):
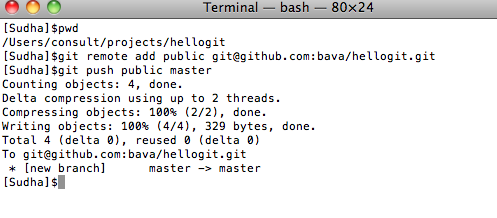
Now, go back to your Github repository https://github.com/YOUR_USER_NAME/hellogit and you will see that the files have been pushed.